• 5 min read
How to Setup DigitalOcean Spaces Bucket for Storage in Laravel
in this guide, we’ll explore how to integrate DigitalOcean Spaces with a Laravel Filament project. This will allow us to store and serve files efficiently, scaling our application effortlessly.
What is DigitalOcean Spaces?
DigitalOcean Spaces is an object storage service that allows developers to store and serve large amounts of data efficiently. Unlike traditional storage methods (file or block storage), object storage is designed for scalability, cost-effectiveness, and redundancy.
For just +/- $5 per month, you get 250GB of storage, making it a very affordable option compared to other cloud storage solutions.
DigitalOcean Spaces instead vs Laravel’s default storage
By default, Laravel stores files in the local filesystem, specifically within the /storage/app directory of your project. While this setup works well for small applications, it comes with some significant limitations as your project scales:
- Consumes server space: Since files are stored within your project’s root filesystem, they take up space on your server. As your project grows, storage needs increase, and you may run out of disk space.
- Scalability issues: If your application grows to handle thousands (or millions) of file uploads, managing storage becomes challenging. Migrating files later to a cloud-based storage service can be complex and time-consuming.
- Limited redundancy & security: Local storage lacks built-in redundancy, meaning if your server crashes, you risk losing all stored files unless you implement a robust backup solution.
- Performance bottlenecks: Storing and serving large files directly from your server can slow down your application, affecting user experience. Offloading files to cloud storage reduces server load and improves performance.
Using DigitalOcean Spaces, or another cloud storage provider, solves these issues by providing scalability, redundancy, and performance optimization right from the start. It allows your storage to grow with your application without worrying about running out of space or losing critical data.
Setting up DigitalOcean Spaces
Before we begin, I assume you already have a DigitalOcean account set up. If you haven’t created one yet, head over to DigitalOcean and sign up. Once your account is ready, follow these steps to create a Spaces Bucket for storing and serving files in your Laravel project.
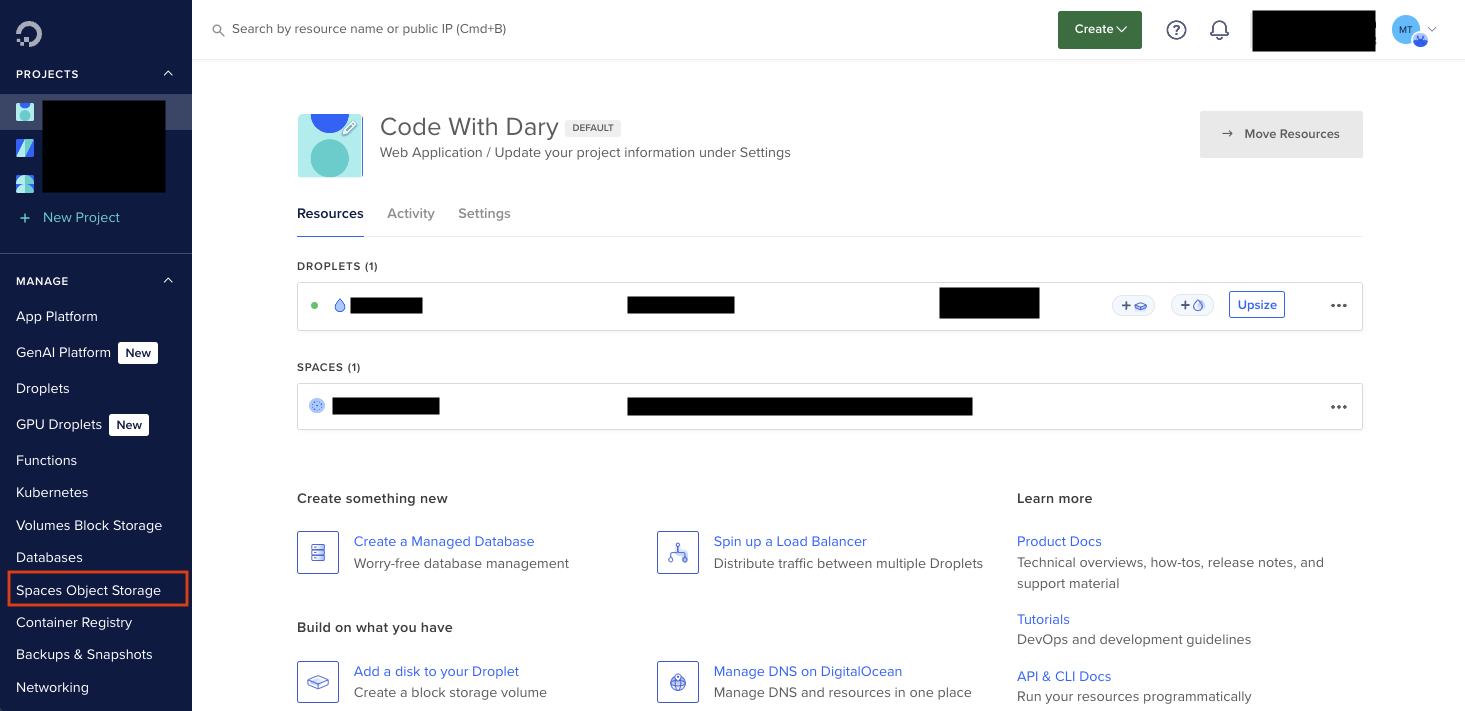
- Navigate to DigitalOcean → Spaces Object Storages
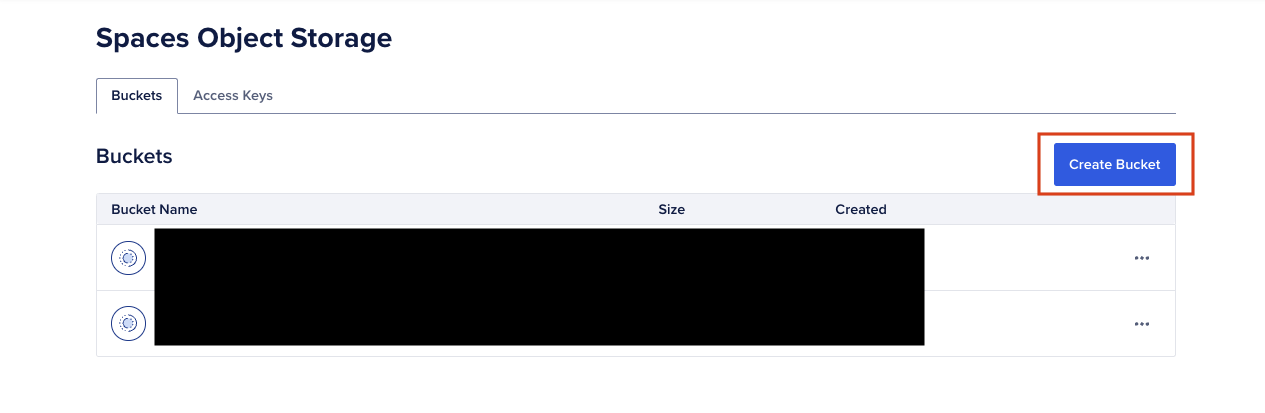
- Click “Create Bucket” and create a new Spaces Bucket.
-
Choose a datacenter region close to your users.
-
Enable CDN.
-
Name your bucket (e.g., laravelisthebest) and click “Create a Spaces Bucket”.
Configuring Laravel’s ffilesystem
Technically, DigitalOcean Spaces uses the S3 API, meaning you don’t have to create a new disk in Laravel’s config/filesystems.php file—you can simply use the existing S3 disk configuration.
If you want better organization (especially if you’re using both AWS S3 and DigitalOcean Spaces), it’s a good practice to define a separate disk.
In config/filesystems.php, add a new disk configuration for DigitalOcean Spaces:
'do' => [
    'driver' => 's3',
    'key' => env('DO_ACCESS_KEY_ID'),
    'secret' => env('DO_SECRET_ACCESS_KEY'),
    'region' => env('DO_DEFAULT_REGION'),
    'bucket' => env('DO_BUCKET'),
    'endpoint' => env('DO_ENDPOINT'),
    'directory_env' => env('DO_DIRECTORY'),
    'visibility' => 'public',
    'throw' => false,
    'bucket_endpoint' => true
],
In your .env file, define the required credentials:
DO_ACCESS_KEY_ID=your_access_key
DO_SECRET_ACCESS_KEY=your_secret_key
DO_DEFAULT_REGION=your_region
DO_BUCKET=filament-do
DO_ENDPOINT=https://your-region.digitaloceanspaces.com- To generate Spaces access keys (DO_ACCESS_KEY_ID), go to the Spaces Access Keys page and click Generate New Key. This opens the New Spaces Access Key window.
- To generate access key (DO_SECRET_ACCESS_KEY), go to the Application & API and click Generate New Token, and follow the steps.
- To add the region (DO_DEFAULT_REGION), you need to add the region you have selected. It is also defined in the origin endpoint
- The bucket name (DO_BUCKET) is the name of the bucket you have defined.
- The endpoint (DO_ENDPOINT) can you found in the top right corner when you open your DigitalOcean Spaces bucket
Storing images through FilamentPHP
For this example, I’ll be using Filament to create a simple file upload system that stores images in DigitalOcean Spaces. Filament provides an elegant way to manage file uploads using its FileUpload component.
Here’s how you can define the file upload field inside your Filament resource form:
FileUpload::make('image_path')
    ->disk('do') // Use the DigitalOcean Spaces disk
    ->visibility('private')
    ->storeFileNamesIn('original_image_name')
    ->image()
    ->imageEditor()
Storing images through Laravel Storage Facade
Storage::disk('do')->url('uploads/example.jpg')Fixing the CORS policy issue
When trying to preview uploaded images, you may encounter a CORS (Cross-Origin Resource Sharing) error.
A CORS (Cross-Origin Resource Sharing) error occurs when a web application running in a browser tries to request resources (like images, APIs, or fonts) from a different origin (domain, protocol, or port), and the server doesn’t allow it.
- Go to DigitalOcean Spaces → Bucket Settings.
- Find CORS Configuration and add your app’s URL: https://laravelisthebest.test
- Allow all methods and save the configuration.
Conclusion
In this tutorial, we successfully:
- ✅ Set up DigitalOcean Spaces for scalable file storage.
- ✅ Configured Laravel’s filesystem to integrate with DigitalOcean Spaces.
- ✅ Used Filament’s FileUpload component to store images efficiently.
- ✅ Fixed CORS policy issues to ensure files load correctly in the browser.
By implementing DigitalOcean Spaces, you’re making your Laravel project more scalable, efficient, and reliable—eliminating the limitations of local storage.